cubic.org >
doj >
LEGO >
79111-1
LEGO 79111-1 Lone Ranger Constitution Train Chase motorized
This is my approach to motorize
the LEGO 79111-1 Lone Ranger
Constitution Train Chase with a Power Functions motor. There is an
excellent thread on
the Brickset Forum
about Motorizing
the Constitution (79111). Most people there choose to add the
motor to the train tender. There are excellent ideas, but it always
resulted in the tender to almost double in size. In my eyes this
somewhat destroyed the nice balance of the sizes of the locomotive and
the tender.
Looking at the other options to add a motor to the train, I tried
the prison wagon. It was designed to be much bigger than the tender
and could almost fit the battery box and infrared receiver. See the
following instructions how I modified it to contain all the power
functions.
 a 1x4 black brick and 1x4 black plate.
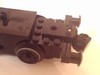 add the train coupler.
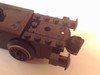 add 2 1x4 black plates.
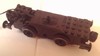 add one 4x4 or two 2x4 black plates (or some other combination). Build the same on the other side of the motor, but use only one 1x4 and one 2x4 plates to leave a gap for the electric cable.
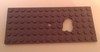 I choose to drill into the 6x14 base plate of the prison wagon. You could use a selection of (technic) plates to provide the center whole and a cutout for the motor cable/brick.
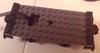 add the base plate to the motor and add two 1x6 black plates.
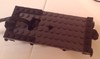 add two 1x4 black plates.
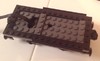 add two 1x8 black plates with the slide and two 1x4 gray plates.
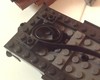 add two 1x2 bricks (any color) and wind up the electric motor cable. I used inverted slopes here, but that is not necessary.
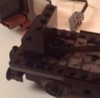 add a 2x4 brick and a 1x4 brick (any color).
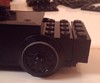
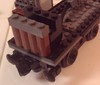 add two 1x4 log shaped brown bricks and two 1x4 plates (any color).
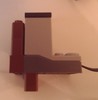 prepare the infrared (IR) receiver: add two friction pins and the 1x4 brown technic brick. Then three 1x4 log shaped brown bricks. Finally two 1x2 black tiles.
 add the IR receiver to the wagon.
 build the side walls as shown in the LEGO instructions.
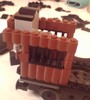 add the side walls to the wagon. Add two 1x4 log shaped brown bricks to each side wall.
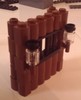 build the back wall as shown in the LEGO instructions.
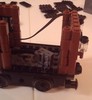 add the back wall to the wagon.
 add 4 1x4 or 1x2 plates to the battery box. Use a 2x4 technic plate, a 3 long axle and a technic piece as a stopper on the axle.
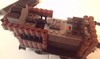 add the battery box to the wagon, connect the motor cable to the IR receiver and the IR cable to the battery.
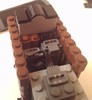 add a 1x2 brick and a 1x2 plate to the IR receiver (any color).
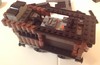 add a 2x6 black plate and two 1x8 black plates with slides. You should add the gray sliding doors at this point as well. Ignore the 1x4 gray plate on the IR receiver, it will be replaces later.
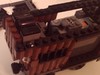 add two 1x6 black plates and two 1x1 black (round) plates.
 add two 1x6 gray plates and a 2x4 gray plate.
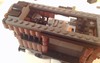 add two 1x10 gray plates.
 add a 1x4 brick to the IR receiver and a 1x2 (1x4) brick to the battery box (any color).
 take a 2x6 black technic plate and a 2x8 black plate (or two 1x4 black plates).
 add two 2x4 black tiles and a 2x2 black tile. Put the 2x2 tile one stud more to the left than shown in this picture.
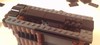 add the long roof piece to the wagon.
 add four 1x3 gray curved slopes.
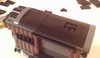 add six 2x4 black curved slopes.
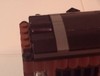 add two 1x2 black cheese slopes.
 the completed motorized wagon.
For questions and comments write an email
to Dirk Jagdmann. A complete
inventory of the train set is available
at Bricklink.
 a 1x4 black brick and 1x4 black plate.
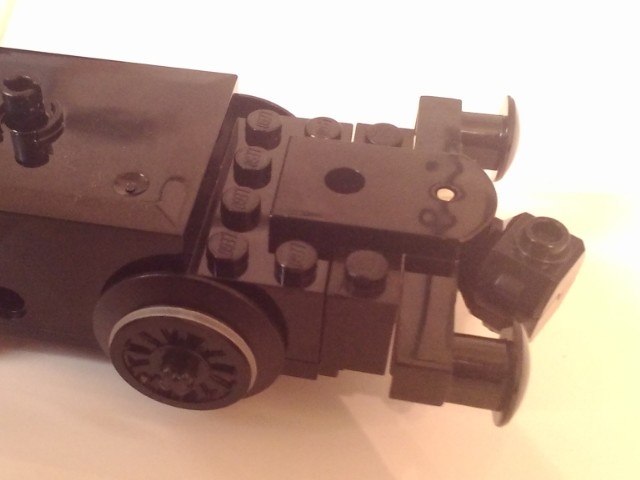 add the train coupler.
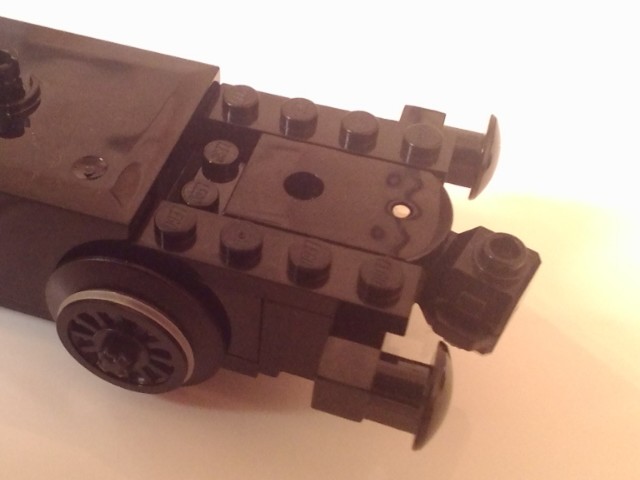 add 2 1x4 black plates.
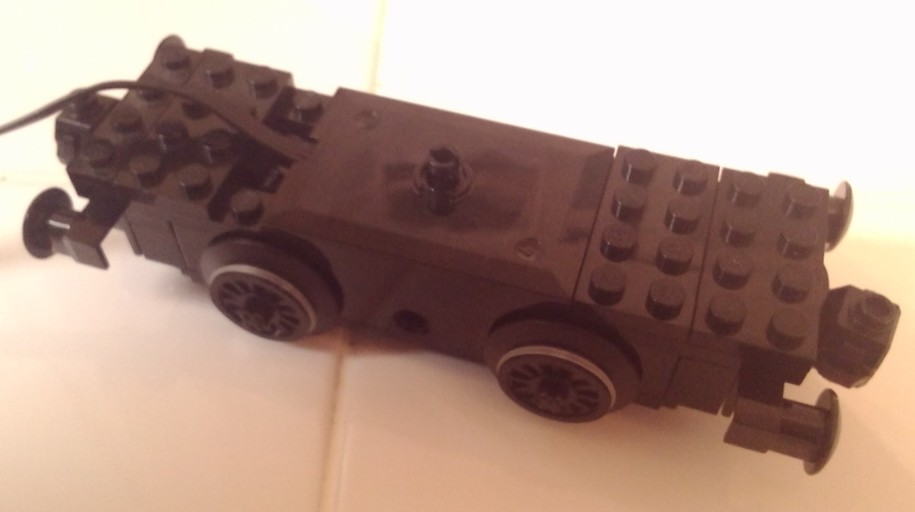 add one 4x4 or two 2x4 black plates (or some other combination). Build the same on the other side of the motor, but use only one 1x4 and one 2x4 plates to leave a gap for the electric cable.
 I choose to drill into the 6x14 base plate of the prison wagon. You could use a selection of (technic) plates to provide the center whole and a cutout for the motor cable/brick.
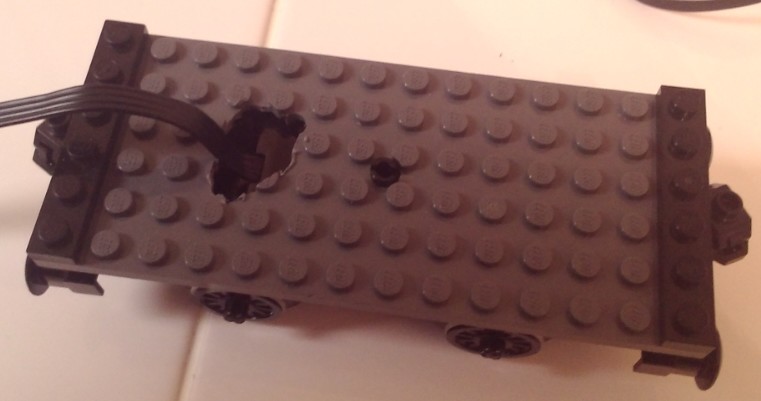 add the base plate to the motor and add two 1x6 black plates.
 add two 1x4 black plates.
 add two 1x8 black plates with the slide and two 1x4 gray plates.
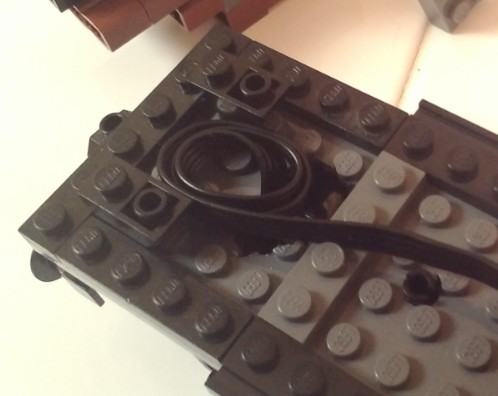 add two 1x2 bricks (any color) and wind up the electric motor cable. I used inverted slopes here, but that is not necessary.
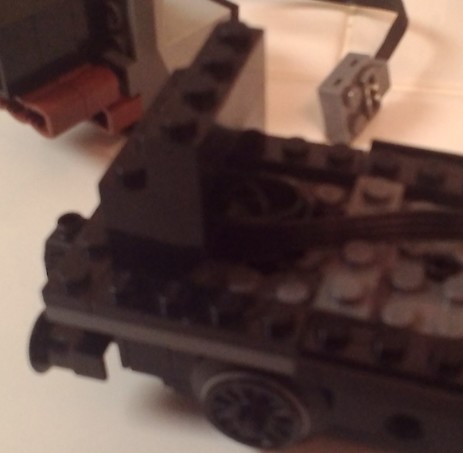 add a 2x4 brick and a 1x4 brick (any color).
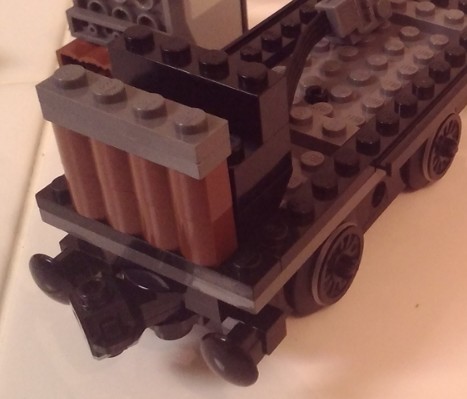 add two 1x4 log shaped brown bricks and two 1x4 plates (any color).
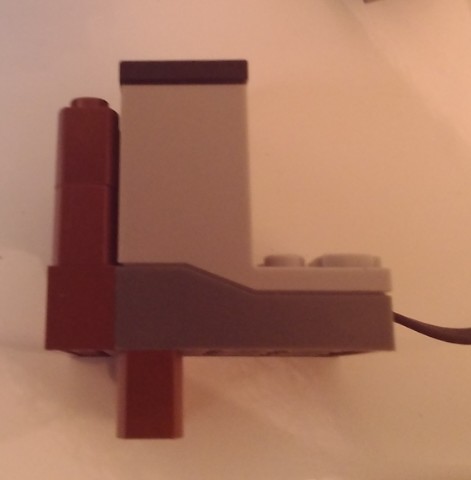 prepare the infrared (IR) receiver: add two friction pins and the 1x4 brown technic brick. Then three 1x4 log shaped brown bricks. Finally two 1x2 black tiles.
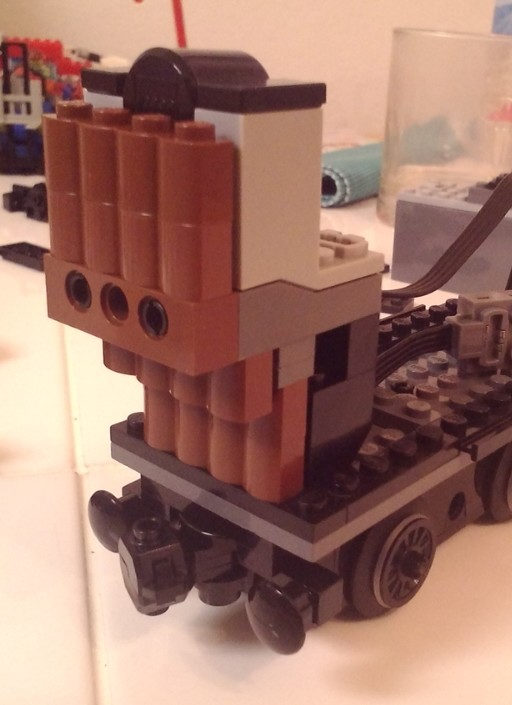 add the IR receiver to the wagon.
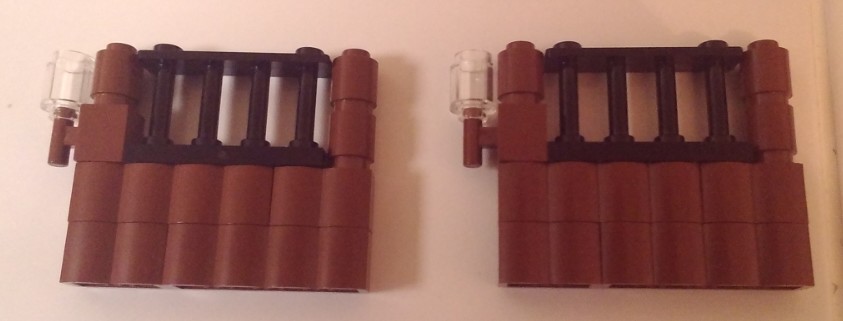 build the side walls as shown in the LEGO instructions.
 add the side walls to the wagon. Add two 1x4 log shaped brown bricks to each side wall.
 build the back wall as shown in the LEGO instructions.
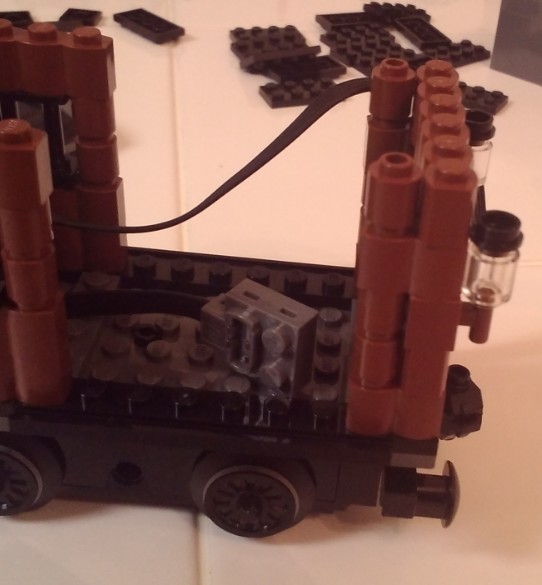 add the back wall to the wagon.
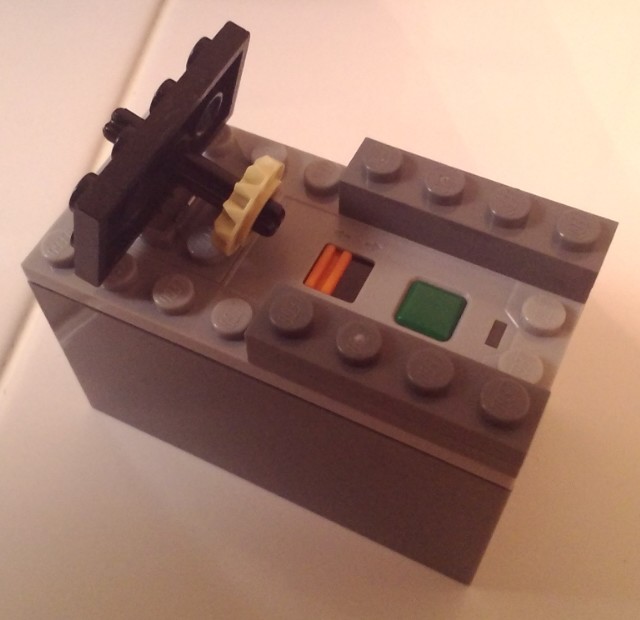 add 4 1x4 or 1x2 plates to the battery box. Use a 2x4 technic plate, a 3 long axle and a technic piece as a stopper on the axle.
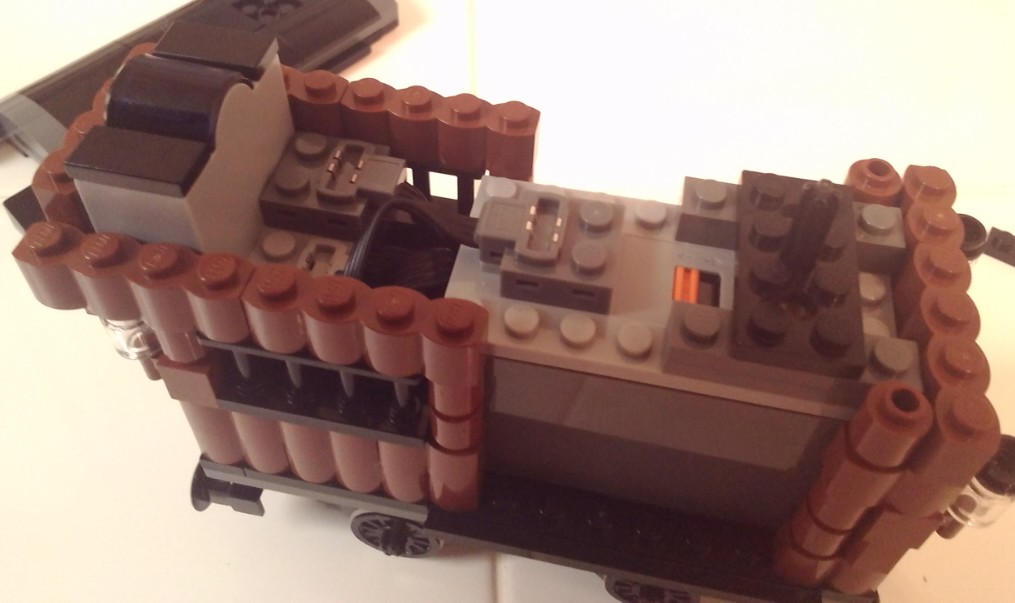 add the battery box to the wagon, connect the motor cable to the IR receiver and the IR cable to the battery.
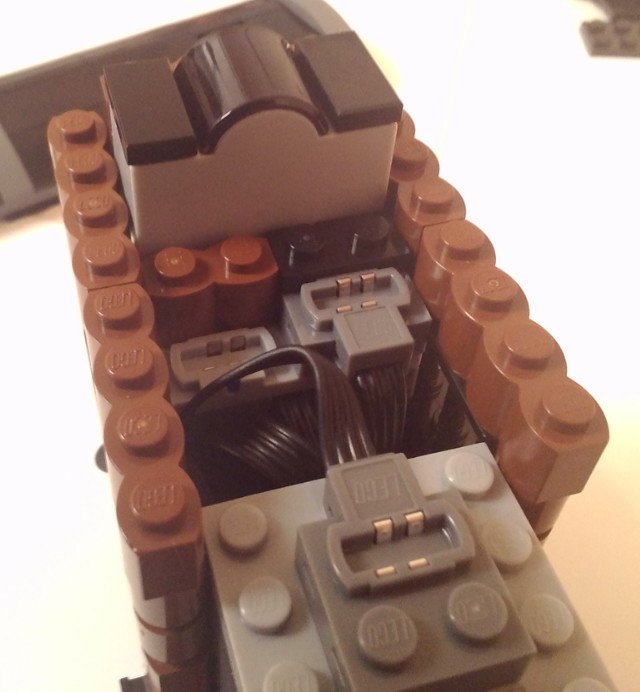 add a 1x2 brick and a 1x2 plate to the IR receiver (any color).
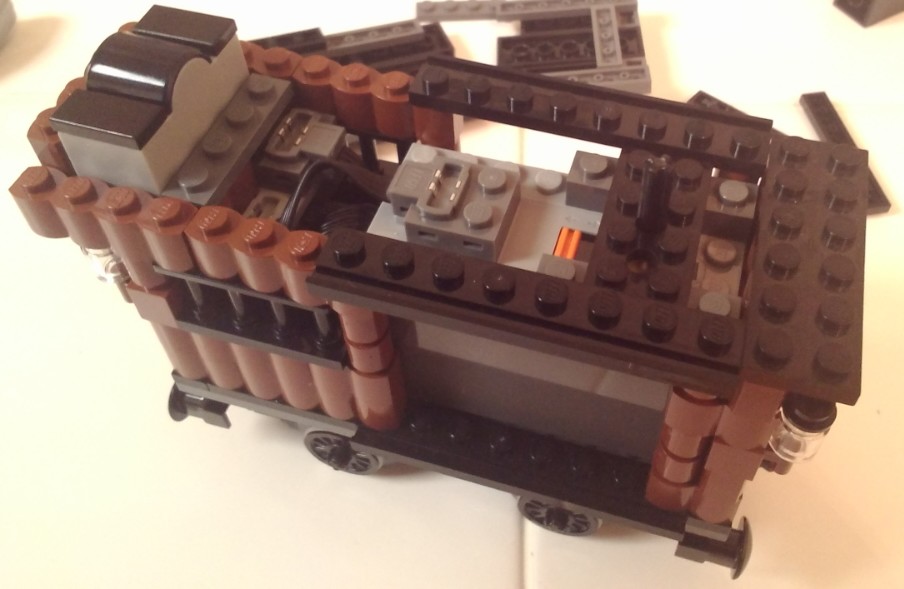 add a 2x6 black plate and two 1x8 black plates with slides. You should add the gray sliding doors at this point as well. Ignore the 1x4 gray plate on the IR receiver, it will be replaces later.
 add two 1x6 black plates and two 1x1 black (round) plates.
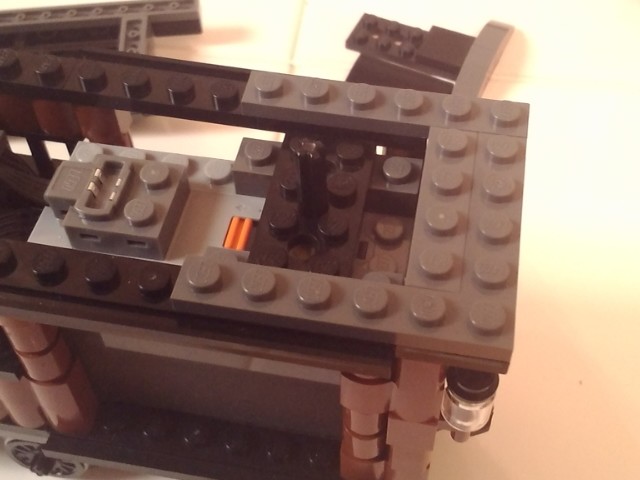 add two 1x6 gray plates and a 2x4 gray plate.
 add two 1x10 gray plates.
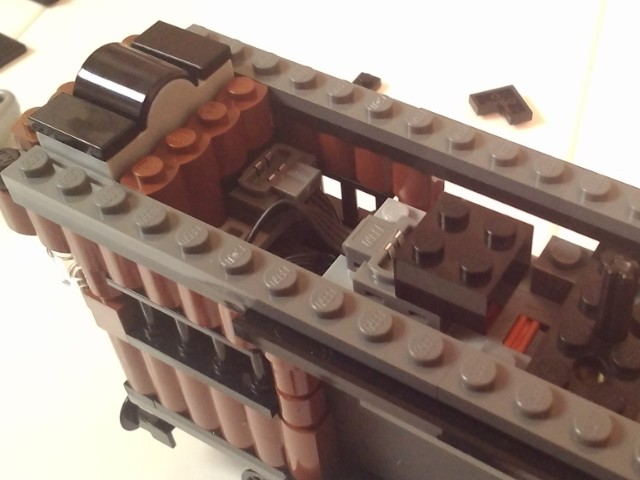 add a 1x4 brick to the IR receiver and a 1x2 (1x4) brick to the battery box (any color).
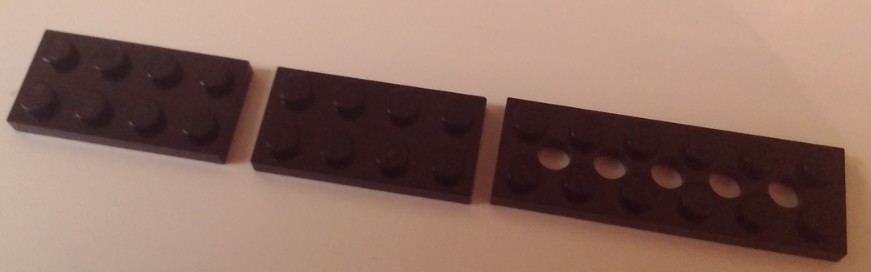 take a 2x6 black technic plate and a 2x8 black plate (or two 1x4 black plates).
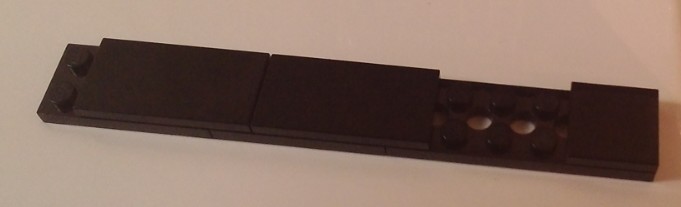 add two 2x4 black tiles and a 2x2 black tile. Put the 2x2 tile one stud more to the left than shown in this picture.
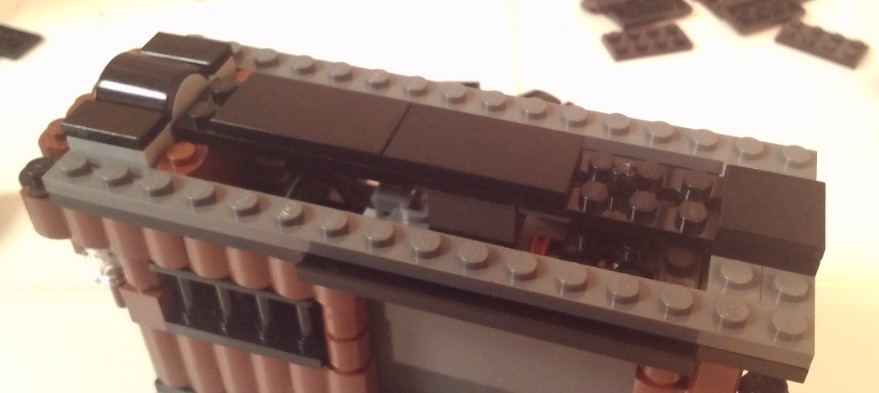 add the long roof piece to the wagon.
 add four 1x3 gray curved slopes.
 add six 2x4 black curved slopes.
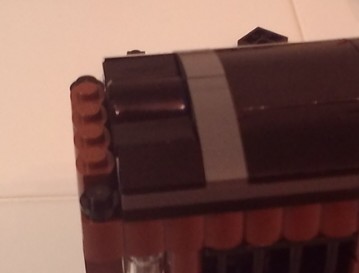 add two 1x2 black cheese slopes.
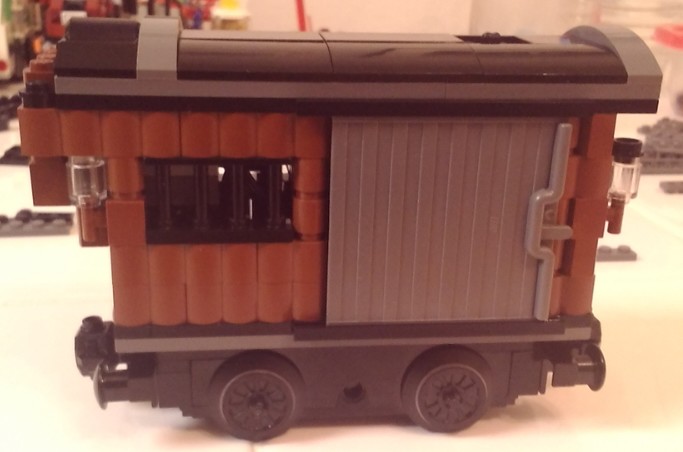 the completed motorized wagon.